Many folks are looking for ways to connect with their gadgets from far away, especially when those gadgets are tucked away safely behind a home network. This guide is all about showing you how to get your smart home items, or really any small computer project, talking to you from anywhere, even if they are sitting on your desk at home. We will talk about using a little computer called a Raspberry Pi to make all of this happen, which is a rather neat trick for anyone keen on smart devices.
It can seem a bit tricky at first, trying to make a connection to something that is not directly on the open internet, but that is actually where a router comes into play. A router acts like a helpful gatekeeper for your home network, keeping outside things out, which is good for security. However, for remote access, we need to teach that gatekeeper to let certain specific messages through to your Raspberry Pi, and that is what we are going to cover. It is, you know, a pretty common setup for people wanting to keep an eye on things or control them from afar.
This whole approach offers a really good way to keep your projects private and secure while still giving you the freedom to check in on them whenever you wish. We are going to go through the steps, talk about the things you will need, and give some good suggestions for setting up a solid system. So, if you are curious about getting your own small computer project to respond to your commands from anywhere, you are in the right spot, as a matter of fact.
Table of Contents
- What is Remote IoT and Why Put It Behind a Router?
- Getting Your Raspberry Pi Ready for Remote IoT Behind Router Example in Raspberry Pi
- How Does Port Forwarding Help Remote IoT Behind Router Example in Raspberry Pi?
- What Are the Key Benefits of This Remote IoT Behind Router Example in Raspberry Pi?
- Where Can You Find Free Tools for Remote IoT Behind Router Example in Raspberry Pi?
- Making Your Remote IoT Behind Router Example in Raspberry Pi Work Smoothly
What is Remote IoT and Why Put It Behind a Router?
When we talk about "remote IoT," we are simply referring to the ability to interact with your internet-connected devices from anywhere that has internet access. Think about checking the temperature in your house while you are at work, or turning on a light in another room using your phone, even if you are on vacation. That is what remote access allows. It is about having your gadgets listen to you and tell you things, no matter where you are physically located. This kind of interaction really opens up a lot of possibilities for how we manage our homes and other places, which is pretty cool.
Now, the "behind a router" part is very important. Most of our home devices are not directly connected to the internet; they are connected to your router. Your router acts as a kind of digital bodyguard, standing at the entrance of your home network, making sure that only invited guests get in and that your devices are safe from unwanted attention from the outside world. This setup is good for security, but it also means that if you want to reach a device inside your home network from the outside, you need a special way to get past that bodyguard. So, in a way, we are teaching the bodyguard to recognize a specific knock at the door and direct it to the right room, which is the Raspberry Pi, of course.
The Core Idea of Remote IoT Behind Router Example in Raspberry Pi
The main idea here is to use a Raspberry Pi as a kind of bridge or a special helper for your other smart things. Imagine your smart light bulb, or your temperature sensor, sitting inside your house. They can talk to your Raspberry Pi, which is also inside your house. But the Raspberry Pi, being a small computer, can be taught how to talk to the outside world in a very controlled way. This means that instead of trying to make every single smart device in your home talk directly to the internet (which could be a security risk and is often complicated), you just have one main point of contact: your Raspberry Pi. This makes the whole setup much simpler to manage and, quite honestly, more secure, too it's almost a central command post for your gadgets.
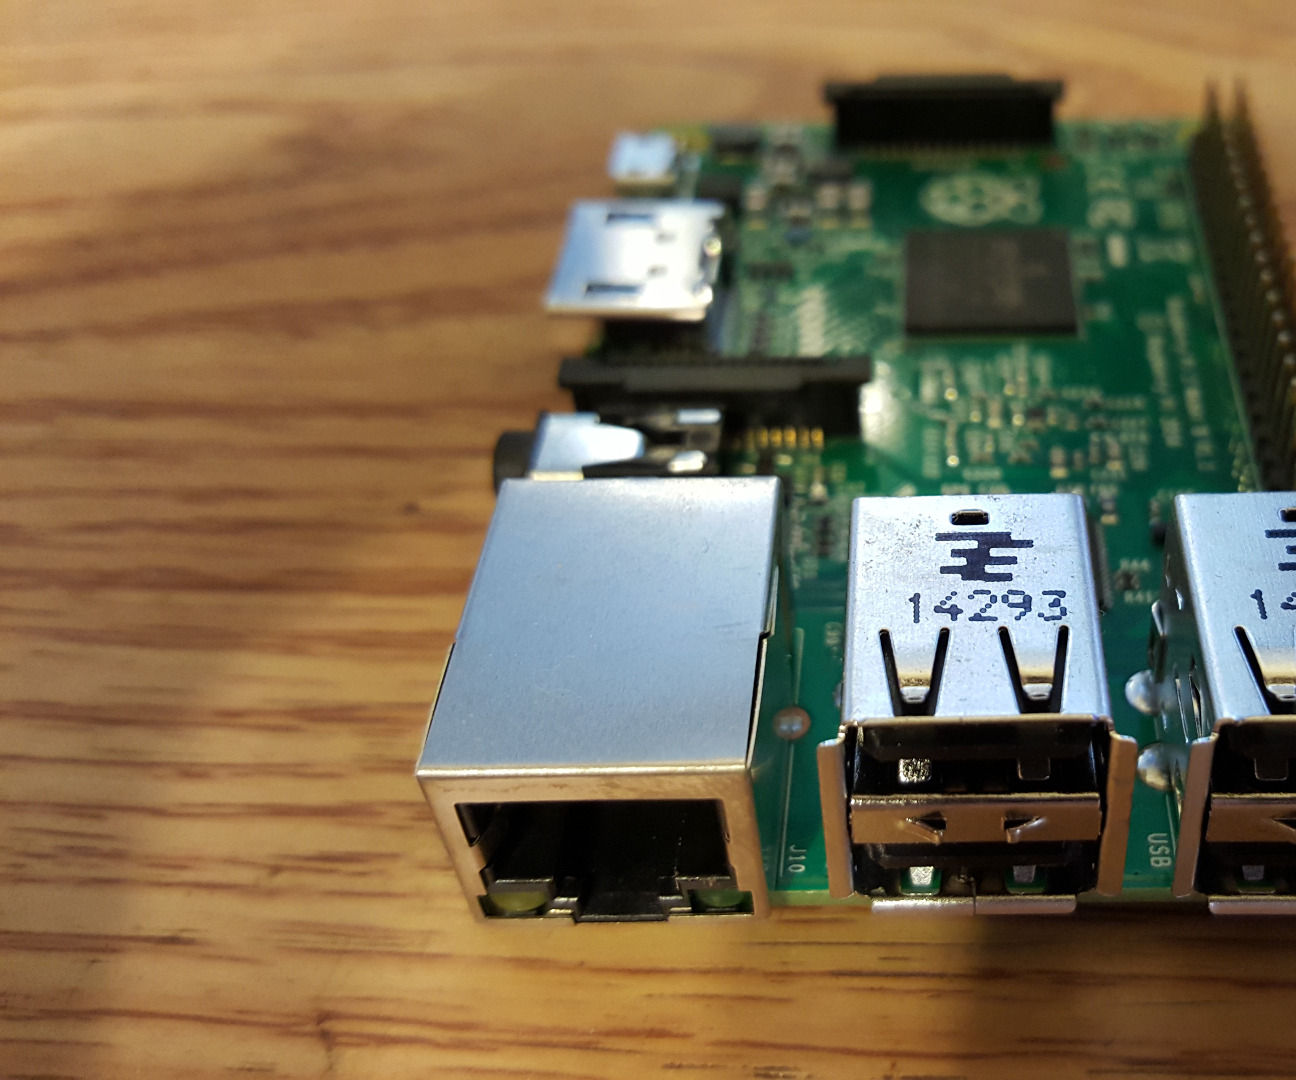
The Raspberry Pi is a really good choice for this because it is small, uses very little power, and can do a lot of different jobs. It is also quite affordable, which means you do not have to spend a lot of money to get started with these kinds of projects. People like it because it is flexible; you can connect all sorts of sensors and controls to it using its special pins, and it runs a version of Linux, which gives you a lot of freedom to set things up exactly how you want them. So, basically, it is a versatile little machine for this kind of work, that.
Getting Your Raspberry Pi Ready for Remote IoT Behind Router Example in Raspberry Pi
Before you can get your Raspberry Pi talking to you from far away, you need to prepare it properly. This usually means putting an operating system on it, which is like the main program that makes the computer run. Most people choose a version of Linux made for the Raspberry Pi, often called Raspberry Pi OS. Once that is on there, you will want to make sure it is all up to date with the latest software patches, which is a good habit for any computer, really. Then, you will install any special programs or tools you need for your specific IoT project, like software to read sensor data or to control things. This might involve typing some commands into a terminal, but there are plenty of guides out there to help, you know.
A very important step is to give your Raspberry Pi a fixed address on your home network. Think of it like giving it a permanent room number in your house. If its room number keeps changing, it will be hard for the router to know where to send messages from the internet. So, you will set up what is called a static IP address for your Raspberry Pi. This ensures that its location on your home network stays the same, making the next steps much smoother. You can usually do this through your router's settings or by making a small change to a file on the Raspberry Pi itself, depending on your setup, and stuff.
Setting Up Your Router for Remote IoT Behind Router Example in Raspberry Pi
Once your Raspberry Pi is ready, the next big piece of the puzzle is your router. As we talked about, your router is like a security guard for your home network. To let outside messages reach your Raspberry Pi, you need to tell the router to expect them and where to send them. This process is called "port forwarding." It is like telling the security guard, "If someone knocks at door number 80 (a common port number for web traffic), please send them directly to the person in room 192.168.1.100 (your Raspberry Pi's fixed IP address)." You will log into your router's settings, usually through a web browser, and find a section for port forwarding or virtual servers. This is where you create the rule that directs specific incoming internet traffic to your Raspberry Pi, which is pretty straightforward once you find the right menu, more or less.
When you set up port forwarding, you will need to pick a port number. Some common ones are used for specific things, like port 22 for secure remote command lines or port 80 for web pages. You can also choose a less common port number for extra security, just to make it a little harder for random scanners to find your device. It is also a good idea to only open the ports you absolutely need. The fewer doors you leave open, the safer your home network will be. This careful approach helps keep your remote IoT setup secure while still letting you connect from anywhere, which is definitely a smart way to go about it.
How Does Port Forwarding Help Remote IoT Behind Router Example in Raspberry Pi?
Port forwarding is the key step that makes your remote IoT setup possible when your devices are behind a router. Without it, any attempt to reach your Raspberry Pi from the internet would just stop at your router, because the router would not know what to do with that incoming message. It would simply block it, seeing it as an uninvited guest. By setting up a port forward, you are essentially creating a specific, open pathway through your router's firewall directly to your Raspberry Pi. This means that when you are away from home and want to check on your smart garden, your request travels across the internet, hits your home router, and then, thanks to the port forward rule, is sent straight to your Raspberry Pi. It is, you know, a direct line of communication.
This method works by linking an outside port number (the one the internet sees) to an inside port number and the internal IP address of your Raspberry Pi. So, if you set up a rule that says "any traffic coming to my router on port 8080 should go to Raspberry Pi's internal IP address on port 80," then your remote requests will find their way. This allows your Raspberry Pi to receive commands or send data back to you, even though it is not directly exposed to the internet. It is a fundamental networking concept that is actually pretty simple to grasp once you understand the idea of a router as a gatekeeper, and the ports as specific doors on that gate, you know, kind of.
What Are the Key Benefits of This Remote IoT Behind Router Example in Raspberry Pi?
Using a Raspberry Pi for your remote IoT setup behind a router brings quite a few good things to the table. For one, it gives you incredible freedom to manage and keep an eye on your devices from literally anywhere in the world where you have an internet connection. Imagine being able to adjust your home thermostat from your phone while you are on a trip, or getting an alert if your pet's water bowl is empty, no matter where you are. This level of control and awareness is very helpful for many people, especially those who travel a lot or just want peace of mind about their home. It is, in a way, like having your home in your pocket.
Another big plus is the cost. Setting up a remote IoT system with a Raspberry Pi can be done without spending a lot of money. The Raspberry Pi itself is quite affordable, and there are many free software tools and services available that you can use. This makes it a great option for hobbyists, students, or anyone who wants to explore the world of smart devices without a huge financial commitment. You can really experiment and learn a lot, which is a fantastic opportunity, you know, for anyone getting into this kind of thing.
Keeping Things Safe with Remote IoT Behind Router Example in Raspberry Pi
Security is a very important part of any remote setup, and putting your IoT devices behind a router with a Raspberry Pi as a gateway helps a lot with this. When your devices are directly on the internet, they are more exposed to potential threats. But with the router acting as the first line of defense, and the Raspberry Pi managing the connections, you add a significant layer of protection. This setup means that only the specific traffic you allow through the port forward can reach your Raspberry Pi, and your other devices are hidden from the outside world. It is a much safer way to operate, honestly.
Furthermore, using a Raspberry Pi gives you more control over the security aspects. You can install security updates, set up strong passwords, and configure things like firewalls directly on the Pi. This level of control is often not available with off-the-shelf smart devices. By following good security practices for your Raspberry Pi, you can make your remote IoT system very resistant to unwanted access, ensuring your privacy and the safety of your data. This attention to keeping things safe is, you know, really a must in today's connected world.
Where Can You Find Free Tools for Remote IoT Behind Router Example in Raspberry Pi?
One of the truly wonderful things about using a Raspberry Pi for your remote IoT projects is the abundance of free tools and services available. You do not need to buy expensive software to get started. For the operating system, Raspberry Pi OS is free and built specifically for these little computers. For connecting and sending data, there are protocols like MQTT, which is a very lightweight messaging system perfect for IoT devices, and there are free MQTT brokers you can use, or even set up your own on the Pi. For remote access, you can use SSH (Secure Shell) to get a command-line interface to your Pi from anywhere, which is built into most operating systems and totally free. There are also many open-source projects for building dashboards and controlling devices, like Node-RED or Home Assistant, that run well on a Raspberry Pi, and are completely free to use, as a matter of fact.
Many cloud services also offer free tiers for small projects, which can be useful if you prefer not to open ports on your router. These services often use a different method, where your Raspberry Pi makes an outgoing connection to the cloud service, and then you connect to the cloud service to talk to your Pi. This avoids the need for port forwarding entirely, which some people find simpler or more secure. Examples include things like Adafruit IO or even some basic functions of larger cloud platforms. So, you have a lot of choices, whether you prefer to manage everything yourself or use a service, you know, depending on what feels right for your project.
Making Your Remote IoT Behind Router Example in Raspberry Pi Work Smoothly
Getting your remote IoT setup to work well involves a few thoughtful steps. Beyond just setting up port forwarding and installing software, it is about making sure everything communicates without a hitch. This means giving your Raspberry Pi a steady network address, as we discussed, so your router always knows where to send incoming messages. It also means choosing the right communication methods for your devices and making sure they are set up correctly on your Raspberry Pi. For instance, if you are reading a sensor, you want to ensure the code on your Pi is constantly checking that sensor and sending its data where it needs to go, which is pretty important.
You also want to consider what happens if your internet connection goes down, or if the power flickers. Designing your system to be resilient means it can recover on its own. This might involve setting up your Raspberry Pi to automatically restart its programs if they stop working, or to reconnect to the internet if the connection drops. Thinking about these small details can make a big difference in how reliable your remote IoT system is over time. It is, basically, about making sure your setup can handle the everyday bumps and continue to do its job without constant attention from you, which is the whole point of automation, anyway.
In short, this guide has walked you through the idea of setting up a remote IoT system using a Raspberry Pi, even when your devices are safely tucked behind your home router. We have gone over why this setup is useful, how to get your Raspberry Pi and router ready for it, and the importance of port forwarding in making connections happen. We also touched on the many benefits, like being able to control things from anywhere and keeping your setup secure, along with pointing out where you can find free tools to help you get started. The goal is to give you a clear picture of how to create a reliable and private way to manage your smart devices, no matter where you are.