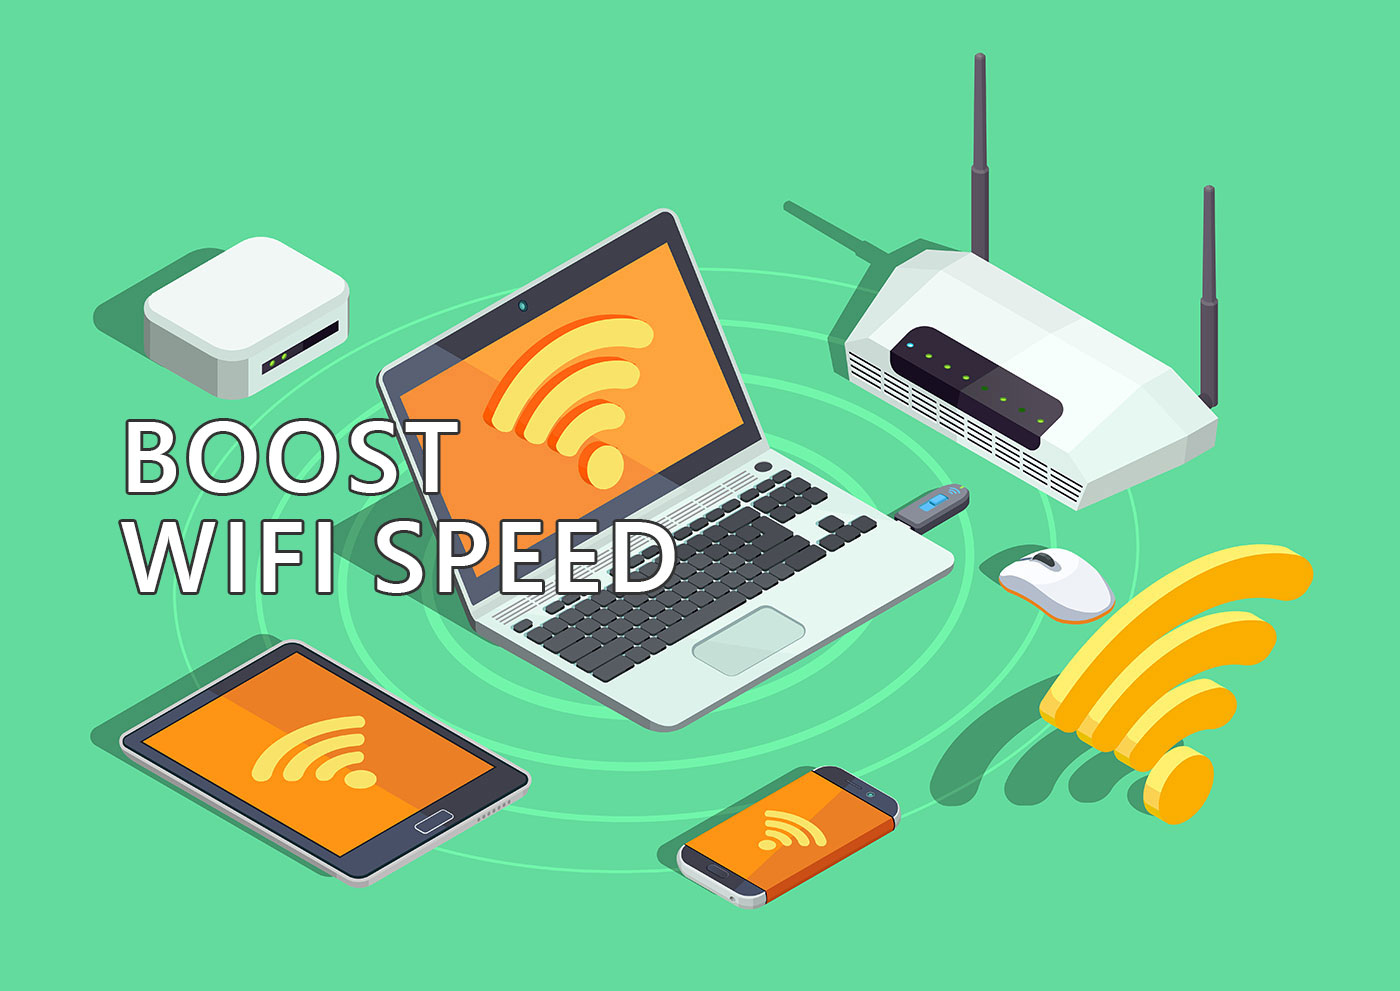
Getting your smart devices to chat with the outside world can sometimes feel like trying to send a message in a bottle from inside a very secure fort. When your remote IoT gadget sits behind your home or office router, and you're thinking about its unique hardware address, there are a few steps to make sure it connects and stays connected. This little guide is for anyone who has a remote IoT setup and wants it to communicate smoothly, even with that network barrier in the way.
Many folks find themselves scratching their heads when their internet-connected things, like a smart sensor or a home automation bit, just won't seem to reach out beyond their local network. It's almost like the router is a very protective bouncer, keeping unknown guests out. But with a bit of setup, you can teach that bouncer who's supposed to get through, making your remote IoT device a happy, communicating part of your digital life. You know, it's really not as hard as it might sound at first.
We'll walk through how your device's unique identifier, often called a MAC address, plays a part in this whole process. We will look at how to give your gadget a steady spot on your network and how to open specific pathways for it to send and receive information. By the time we are done, you should have a much clearer picture of how to use remote IoT behind router MAC, getting your smart items talking without a fuss.
Table of Contents
- What Is the Story With Your Remote IoT Device and That Router?
- Finding Your Device's Unique Network Fingerprint
- Why Give Your Remote IoT Device a Permanent Address?
- Opening Up a Specific Pathway for Your Device
- Are There Other Ways to Get Your Remote IoT Online?
- Keeping Things Secure While Connecting
- How Can You Tell if Your Remote IoT is Really Talking?
- Wrapping Things Up for Your Connected Remote IoT
What Is the Story With Your Remote IoT Device and That Router?
So, you have this remote IoT device, maybe it is a camera keeping an eye on your pet, or a sensor checking the temperature in your greenhouse, and you want to access it from anywhere. The thing is, your home router acts like a kind of gatekeeper for your private network. It lets things inside your network talk to the internet, but it usually doesn't let things from the internet start conversations with your devices without a specific invitation. This protective stance is generally a good thing for your digital safety, but it can make connecting your remote IoT a bit of a puzzle. You know, it's pretty common for people to hit this wall.
When we talk about a "MAC address," we are referring to a very particular code that is built into your device's network hardware. Think of it as a device's permanent, unique name tag on a network. Every single network-ready gadget has one, and it helps your router know exactly who is who on your local setup. This is different from an IP address, which is like a temporary street address that can change. To get your remote IoT device working its best behind your router, we often need to use both of these addresses in a clever way. It's actually quite simple once you get the hang of it.
Getting Your Remote IoT Device to Talk Behind the Router MAC
The goal is to make sure your remote IoT device can send and receive information from outside your local network, even with your router standing guard. This usually involves telling your router to expect communication from a specific device and to direct certain kinds of incoming messages directly to it. It's a bit like setting up a special delivery service just for your IoT gadget. We will look at how to use remote IoT behind router MAC by setting up these special delivery instructions, ensuring your device gets its messages. Basically, it comes down to a few settings changes.
Finding Your Device's Unique Network Fingerprint
Before you can tell your router anything about your remote IoT device, you first need to find its unique MAC address. This hexadecimal code is usually printed somewhere on the device itself, perhaps on a sticker on the back or bottom. If it's not there, you might find it in the device's settings menu, accessible through an app or a web interface. Sometimes, the product's packaging or its instruction manual will also list this important piece of information. It's generally a string of numbers and letters, often separated by colons or hyphens, like "00:1A:2B:3C:4D:5E."
Another way to find this address is by looking at your router's connected device list. Most modern routers have a web interface you can access by typing an IP address (often something like 192.168.1.1 or 192.168.0.1) into your web browser. Once you log in, look for sections like "Connected Devices," "DHCP Clients," or "Device List." Your remote IoT gadget should show up there, along with its current IP address and, more importantly for our purposes, its MAC address. This method can be quite handy if you cannot find the physical label. You know, it's a pretty common spot to check.
How to Use Remote IoT Behind Router MAC - Locating the Address
Knowing where to look for this unique identifier is the first big step in getting your device to work the way you want. Without this address, your router cannot reliably keep track of your specific remote IoT gadget, which means any special rules you set up for it might not always work. So, take a moment to locate this series of characters. It is a fundamental part of learning how to use remote IoT behind router MAC, allowing you to give your device a proper identity on your network. It's just a little detail that makes a big difference.
Why Give Your Remote IoT Device a Permanent Address?
Once you have your remote IoT device's MAC address, the next smart move is to give it a static, or fixed, IP address on your local network. Normally, your router hands out IP addresses like temporary parking spots to devices as they connect. This means your device's IP address could change every now and then. For a remote IoT device that you want to access from outside your network, this changing address is a problem. It's like trying to mail a letter to someone whose street address keeps changing. You know, it would be quite confusing.
By assigning a static IP address, you are essentially giving your remote IoT device its own reserved parking spot that never changes. You do this within your router's settings, usually in a section called "DHCP Reservation," "Static Lease," or "Address Reservation." You will need to enter the device's MAC address and choose an IP address from your router's range that is not likely to be handed out to other devices. This makes sure that whenever your remote IoT device connects, it always gets the same internal network address. This is a very important step for consistent outside access.
Making Remote IoT Work Behind Router MAC with a Fixed Spot
Having a fixed IP address is really helpful because it means you can set up other router rules that point directly to your remote IoT device without worrying that the target address will shift. This consistency is absolutely key for remote access. So, when you are thinking about how to use remote IoT behind router MAC, making sure your device has a permanent home on your network is a step you definitely don't want to skip. It just makes everything else so much smoother.
Opening Up a Specific Pathway for Your Device
With your remote IoT device now having a steady internal IP address, the next big step is to set up something called "port forwarding." Think of your router as a building with many doors, and each door has a number, or "port." When you want to access a specific service on a device inside your network from the internet, you need to tell the router which "door" (port) to open and where inside (which internal IP address) to send the incoming request. This is what port forwarding does. For example, a security camera might use port 8080 for its video stream. You would tell your router that any incoming requests on port 8080 should go to your camera's fixed internal IP address.
To do this, you will again go into your router's settings. Look for sections labeled "Port Forwarding," "Virtual Servers," or "NAT." You will typically need to enter the external port number (what the internet sees), the internal port number (what your device uses, often the same as the external), the protocol (TCP, UDP, or both), and the internal IP address of your remote IoT device. It's really important to get these numbers right. If you are unsure which ports your remote IoT device uses, check its manual or the manufacturer's website. Sometimes, just a little research can save a lot of trouble.
Port Forwarding for How to Use Remote IoT Behind Router MAC
Setting up port forwarding is perhaps the most common way to allow outside access to a device on your private network. It creates a direct line, allowing specific kinds of information to flow straight to your remote IoT gadget without being blocked by your router's firewall. This is a very important part of how to use remote IoT behind router MAC effectively, enabling the remote control or monitoring you are looking for. It's basically a custom route for your device's traffic.
Are There Other Ways to Get Your Remote IoT Online?
While port forwarding is generally the preferred method for allowing outside access to a specific device, there is another option called a "DMZ" (Demilitarized Zone). Putting a device in the DMZ essentially exposes it directly to the internet, bypassing most of your router's firewall protections. This means all incoming traffic that is not specifically handled by other port forwarding rules will go straight to the device in the DMZ. It's like moving your device outside the protective fort walls entirely. This can be simpler to set up than multiple port forwarding rules, but it comes with a much higher security risk. You know, it's a bit of a trade-off.
Because a device in the DMZ is so exposed, it is generally not recommended for most remote IoT devices unless absolutely necessary and you fully understand the risks. If a device in the DMZ has any security weaknesses, it could be easily exploited by malicious actors on the internet. It is far better to use port forwarding to open only the specific ports that your remote IoT device needs, rather than exposing the entire device. So, while it is an option, it is one to approach with caution and only if you have no other choice. Seriously, be careful with this one.
Considering DMZ for How to Use Remote IoT Behind Router MAC
When thinking about how to use remote IoT behind router MAC, the DMZ option should be seen as a last resort. For most home users and typical IoT gadgets, the targeted approach of port forwarding is much safer and usually sufficient. Only consider the DMZ if you have a very specific reason and are willing to accept the increased security concerns. It's just a different way of getting things connected, but with more open doors.
Keeping Things Secure While Connecting
Opening up your network to allow remote access to your IoT devices means you also need to think about security. Every time you create a pathway for outside traffic to reach an internal device, you are also creating a potential point of entry for unwanted visitors. The first line of defense is always strong passwords. Make sure your router has a very strong, unique password, and that your remote IoT device itself also uses a complex password, not the default one it came with. Many people forget this, but it's really important. It's like leaving your front door unlocked.
Keep your remote IoT device's software updated. Manufacturers often release updates that fix security holes and improve performance. Ignoring these updates can leave your device vulnerable. Also, if your router has a firewall, make sure it is active and configured correctly. It adds another layer of protection, filtering out suspicious traffic. Regularly check your router's logs for any unusual activity. A little bit of vigilance can go a long way in keeping your home network safe from prying eyes. You know, staying on top of these things is just good practice.
Security Considerations for How to Use Remote IoT Behind Router MAC
As you work on how to use remote IoT behind router MAC, remember that convenience should not come at the cost of safety. Always prioritize securing your devices and your network. Use the least permissive settings possible; for example, use port forwarding only for the specific ports needed, rather than opening up everything. A secure setup means peace of mind, knowing your connected gadgets are doing their job without inviting trouble. It's actually a pretty simple concept to grasp.
How Can You Tell if Your Remote IoT is Really Talking?
After you have gone through the steps of finding the MAC address, assigning a static IP, and setting up port forwarding, the next logical step is to test if your remote IoT device is actually reachable from outside your network. The easiest way to do this is to try accessing your device from a different internet connection. This means using your phone's mobile data, or connecting to a friend's Wi-Fi, or even a public Wi-Fi spot, rather than your own home network. If you try to access it from inside your own network, it might appear to work due to what is called "loopback" or "NAT reflection," which can give you a false positive. You know, it's a common mistake.
You will need your home network's public IP address to test this. You can find this by simply searching "What is my IP address" on Google from a device connected to your home network. Then, use this public IP address along with the external port number you configured in your port forwarding rule to try and connect to your remote IoT device. For example, if your public IP is 203.0.113.45 and your device uses port 8080, you might try to access it via "http://203.0.113.45:8080" in a web browser or through the device's specific app. If it connects, you are in business!
Checking Your Connection for How to Use Remote IoT Behind Router MAC
Testing from an outside network is the definitive way to confirm that your efforts in how to use remote IoT behind router MAC have paid off. If it doesn't work, double-check all your settings: the MAC address, the static IP, the port numbers, and the protocol. Sometimes, a tiny typo can cause big problems. Patience and careful checking are your best friends here. It's pretty satisfying when it finally clicks.
Wrapping Things Up for Your Connected Remote IoT
Getting your remote IoT device to communicate effectively when it is sitting behind a router and using its MAC address involves a few clear steps. First, you need to find that unique hardware address for your device. Then, giving your device a steady, unchanging IP address on your local network is a very good idea. After that, setting up specific pathways through your router using port forwarding is usually the way to go, allowing outside connections to reach your device directly. We also looked at the DMZ option, which is generally riskier, and talked about how important it is to keep your devices and network safe with good passwords and updates. Finally, testing your setup from an outside network confirms everything is working as it should.
Final Thoughts on